


Welcome to the Homeowner’s Resource Page
Here, you’ll find a quick overview of our cabinet refinishing process
along with tips on choosing finishes, colors and much more.

Once sanded, we apply cabinet-grade primer and use our sprayers to apply the new finish on each side of the cabinetry. Each is set to dry on our custom cabinet drying racks.
Our Cabinet Refinishing Process
For each cabinet refinishing project, we remove all cabinet doors and drawer fronts and take them to our workshop to spray finish.
For our basic service, your cabinet boxes will receive a brushed finish. Depending on the style of your cabinets, this finish can look really nice.
Our upgraded service would be to spray the cabinet boxes. Everything will be masked off including cabinet openings (unless we are doing the insides), appliances, countertops, walls, and flooring. A temporary zip wall is erected to contain the area and ventilation fans are run to exhaust smell and overspray. This finish will be the cream of the crop. It will look like you just had new cabinets installed.
When your cabinet doors and drawer fronts arrive at our shop, the parts are thoroughly cleaned and degreased and the old finish is sanded. We repair cracks, dings, and broken joints. If the hardware is to be changed or moved, we fill the old holes and drill for new hardware.


Each finished piece is inspected to ensure the work meets our high standard for smoothness and even coatings.
Once dry, we bring them back to your home for installation.


Here are some steps you can take to get ready for your upcoming cabinet refinishing project with us:
Decide on colors and upgrades: Want new knobs or drawer pulls? New hinges? Soft-close drawer glides? We love providing upgrades! Discuss any hardware changes well before the project begins, to allow for delivery times.
Clear Out Cabinets: Remove all items from your cabinets, including dishes, cookware, food, and any other belongings. This will give us easy access to the cabinet surfaces without delay.
Clear Countertops: Countertops should be clear to allow for us to work.
Arrange Alternative Storage: If possible, arrange for alternative storage space for your kitchen items while the cabinet refinishing project is underway. This will prevent clutter and make it easier for us to work efficiently.
Plan for Temporary Disruption: Most cabinet refinishing projects take about one week. Be prepared for the temporary disruption to your daily routine while we work to give your kitchen a makeover. Make alternative arrangements for meal prep and access to kitchen essentials if possible.
How to prepare for cabinet refinishing
These tips will help to minimize disruption and speed the cabinet refinishing process

Choosing New Cabinet Hardware
What to consider
When replacing cabinet hardware with new pulls and knobs, there are several factors to consider to ensure you choose the best hardware for your cabinets:
Style: Consider the overall style of your kitchen. Do you prefer a modern streamlined look or a farmhouse feel? Choose hardware that complements the style of the room.
Finish: Copper, Nickel, Gold, Oil-Rubbed Bronze — there are so many options to choose from! While you may want to choose hardware that matches the finish of your existing fixtures and appliances in the kitchen, you don’t have to. Copper knobs can look beautiful in a kitchen with stainless steel appliances.
Size: It’s important to buy hardware that isn’t too large or too small for your cabinets. Consider the size and proportion of the knob or drawer pull in relation to the size of the cabinet door or drawer.
Functionality: Consider how easy the hardware is to grip and use. Choose hardware that is comfortable to use and fits your hand well.
Durability: High-quality hardware can be costly, but are more likely to withstand daily use and last for years. Look for hardware made from durable materials such as solid brass, stainless steel, or zinc alloy.
Installation: Check whether the new hardware requires new holes. We can fill old holes and drill new ones as part of the cabinet refinishing process. Let us know at the beginning of your project.


We’ve seen a lot of kitchen cabinet finishes over the years - the good, the bad, and the downright ugly! We can provide insights on the finishes that are long-lasting and high quality to help you choose the right finish for your kitchen.
Reach out to us to get personalized recommendations tailored to your specific kitchen, budget and goals.
Cabinet Finishes - Explained
Learn the differences between the many cabinet finishes available
Kitchen cabinet finish trends have changed quite a bit over the decades (pickled oak, anyone?). Some homeowners love their oak cabinets while others want us to fill in the grain and create a smooth finish (yes, we can do that!)
The choice comes down to design trends, personal preferences, and the overall style of the kitchen. Here are some of the most common finishes today:
Opaque: Using cabinet-grade paint or a KCMA certified cabinet finish gives great flexibility in color and options to upgrade your cabinets. The sky is the limit for color options. White, off-white, gray, and navy are particularly popular choices today.
Stained: Stained cabinets showcase the natural beauty of wood grain while adding warmth and richness to the room. Popular stain colors include cherry, walnut, espresso, and honey. Stained finishes are less flexible than opaque finishes if you wish to move hardware around.
Glazed: Glazed cabinets feature a layer of glaze applied over the paint or stain to add depth and dimension. This technique can create an antique or vintage look, especially when applied to lighter colors.
Distressed: Distressed cabinets have a worn, aged appearance created through faux finishing techniques. This type of finish adds character and rustic charm to a kitchen.
Laminate: Laminate cabinets are a budget-friendly option available in a variety of colors and patterns. Although our finishes will stick to laminates, we generally prefer to replace the doors for a higher quality door.
Thermofoil: Thermofoil cabinets are made from a thin layer of vinyl adhered to MDF or engineered wood. We also prefer not to refinish these doors and recommend replacing them with a higher quality door.
High Gloss: High gloss cabinets have a shiny, reflective surface for a sleek and modern look. They are typically available in bold colors - think black or red.
Natural Wood: Some homeowners prefer to leave their cabinets unfinished or with a clear coat to showcase the natural beauty of the wood. This option works well in rustic, farmhouse, or Scandinavian-style kitchens.
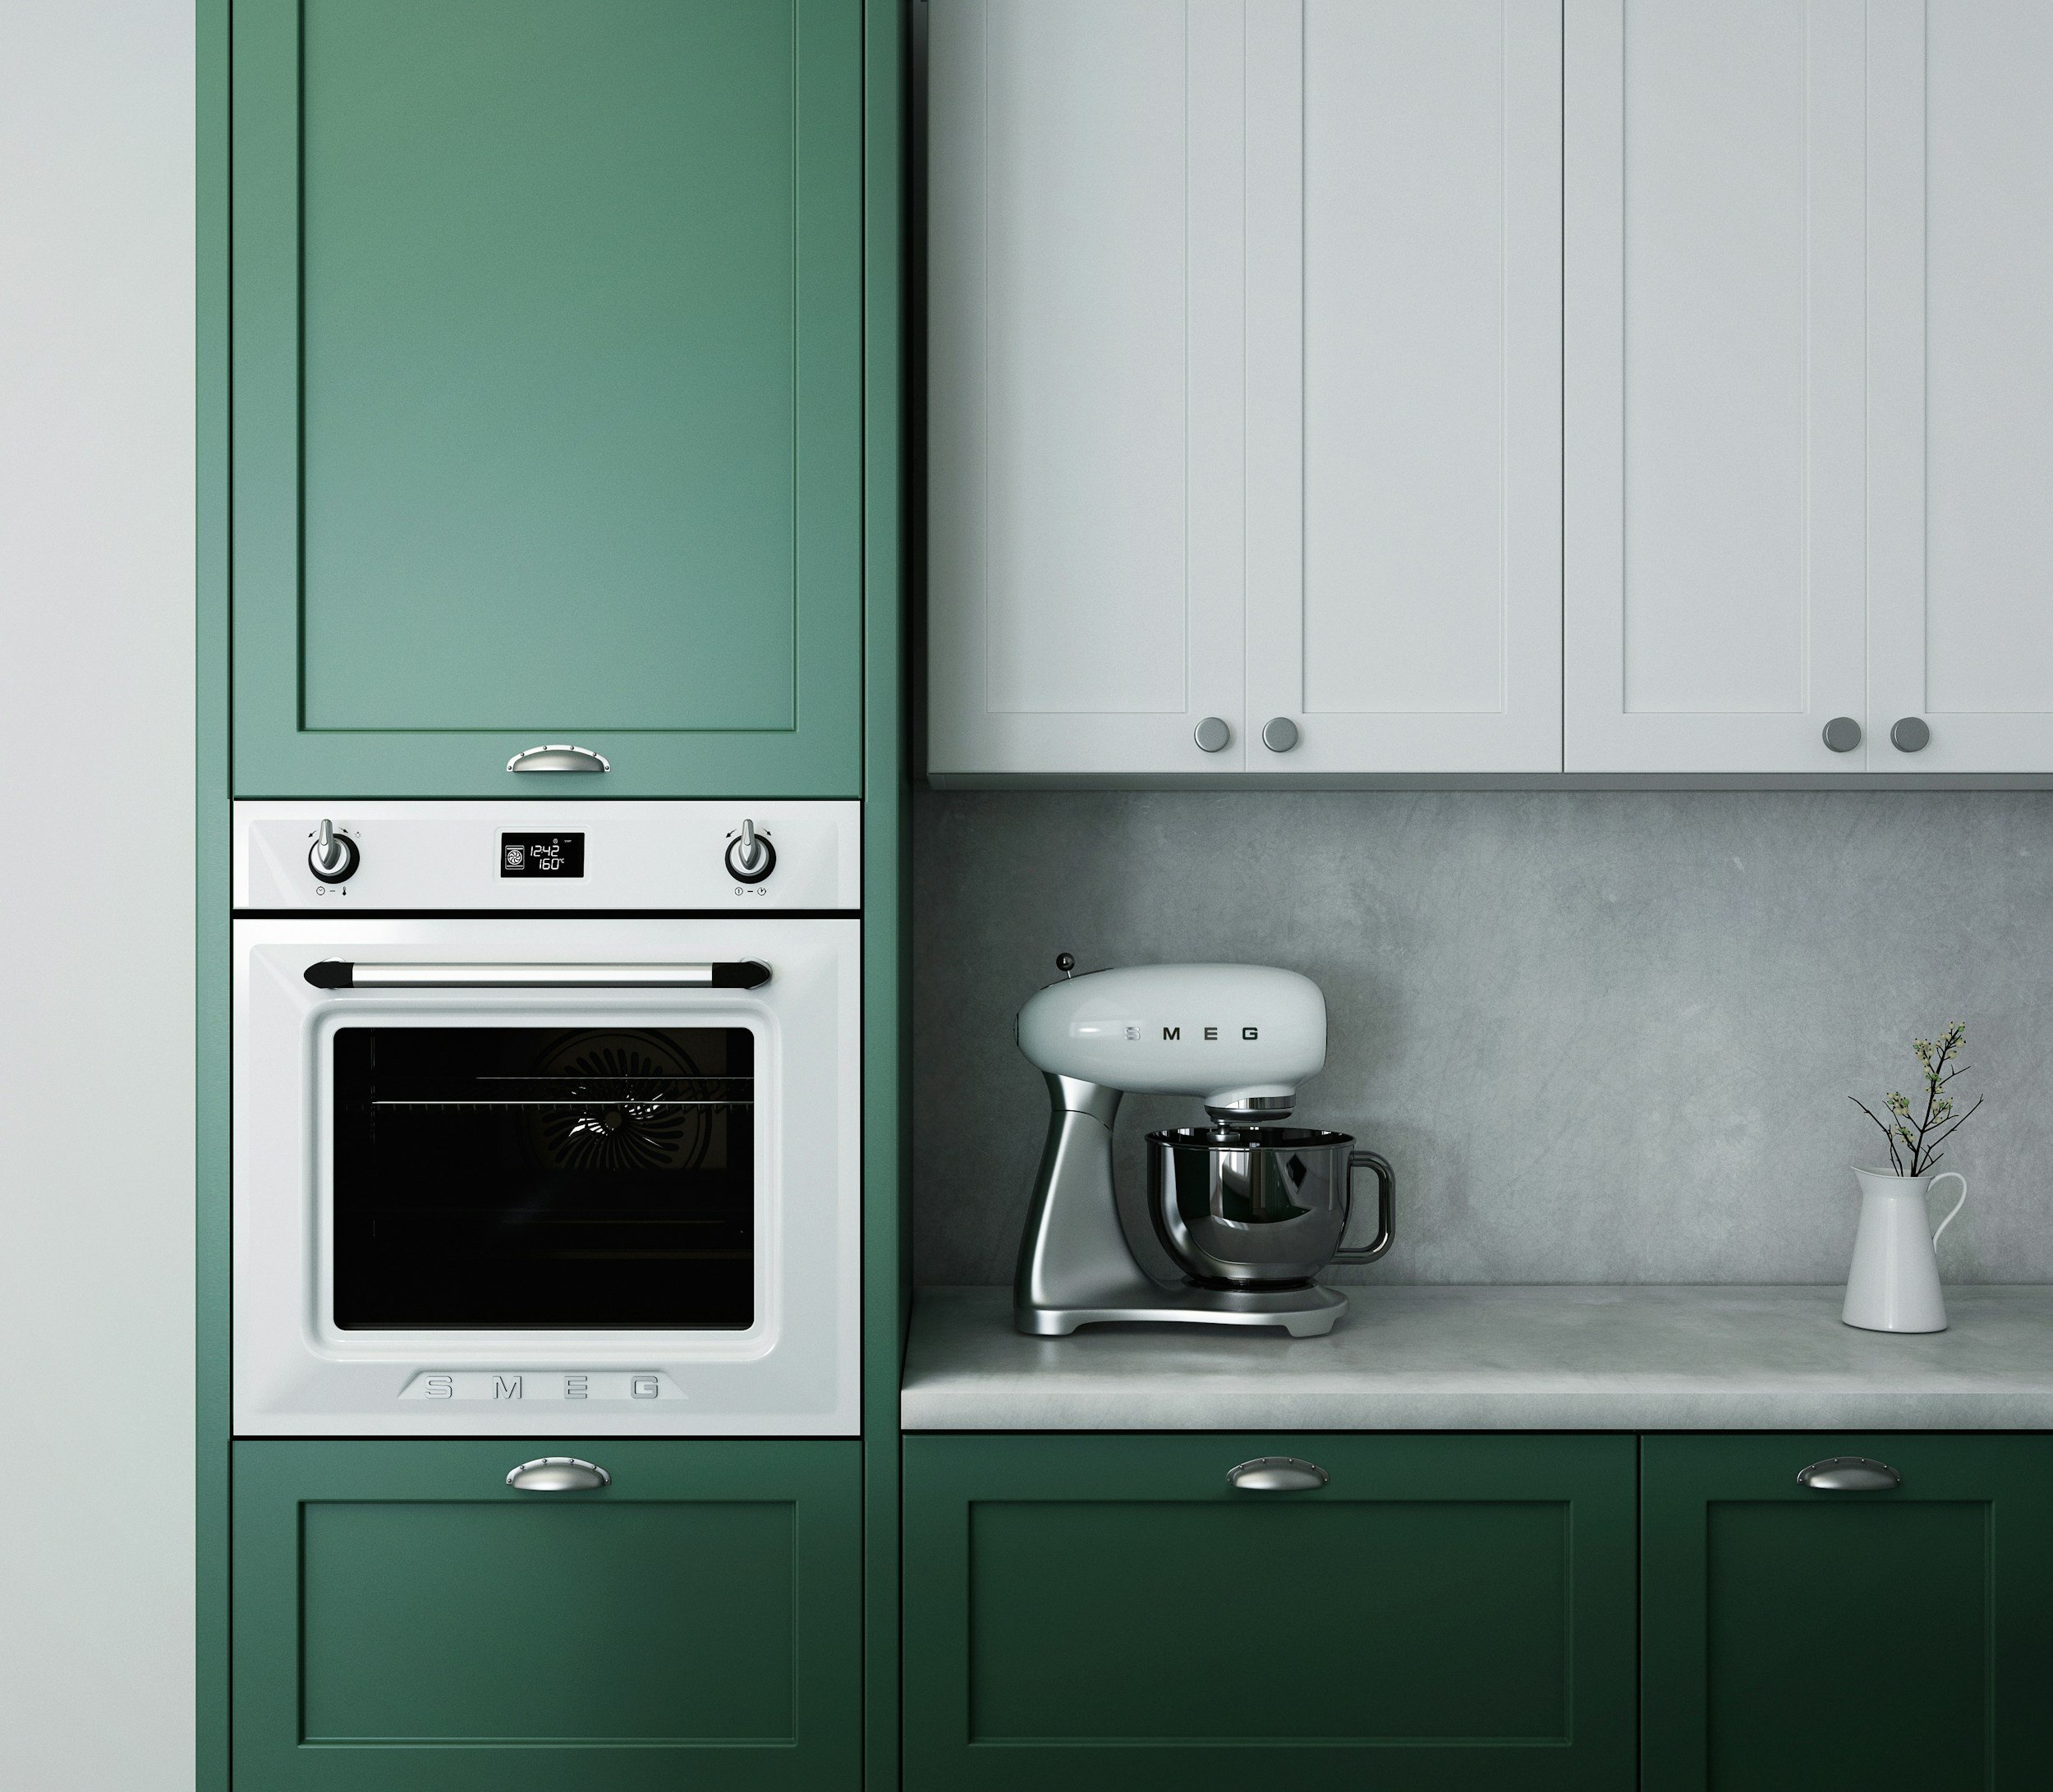
Two-Tone: Two-tone cabinets feature two different colors, typically one color for the upper cabinets and another for the lower cabinets or kitchen island. This adds visual interest and can help define different areas of the kitchen.
Matte: Matte finishes have a low sheen and smooth texture, offering a more subtle and understated look compared to high gloss. The best part of a matte finish is its ability to hide fingerprints and smudges.


We’ve painted hundreds (maybe thousands?) or rooms around Rhode Island and Massachusetts over the past 30 years. Reach out to us to get expert advice and schedule a free estimate.
Paint Color Resources
Benjamin Moore Personal Color Viewer
Explore Benjamin Moore paint colors
Sherwin Williams Color Tools
Gilden’s Visualize Color tool
How to Choose the Right Paint
Learn how paint colors and sheens affect the mood and style of a room
The color, sheen and application of paint can change the entire mood of a home. Here are 10 tips to consider when choosing paint:
Consider the Mood: Think about the atmosphere you want to create in each room. Warm colors like russet, orange, and yellow can evoke warmth and coziness while cool colors such as blues, greens, and grays can create a sense of calm and relaxation.
Assess Natural Light: Pay attention to the amount of natural light each room receives throughout the day. Rooms with ample natural light can handle darker colors without feeling too closed in, but dark shades in a room with very little natural light can feel stifling. Rooms with limited light benefit from lighter, brighter hues to make the space feel more spacious.
Sample Paint Colors: Always test paint colors on the walls and look at them at different times of day before making a final decision. Paint swatches may look different under different lighting conditions and against various surfaces.
Consider the style of your home: Take into account the architectural features of your home when choosing paint colors. How will the color interact with the trim, moulding, doors, and built-in fixtures?
Think About Flow: Maintain a sense of continuity and flow throughout your home by choosing a cohesive paint color palette. Consider how colors will transition from one room to the next and choose colors that complement each other to create a sense of harmony and unity.
Consider Furnishings and Decor: If your couch is red, green walls may not be the best choice. Consider the furniture in each room when selecting paint colors and go with colors that complement what’s there to create a visually appealing space. Not sure what colors go together? Check out the paint color resources on this page.
Paint Sheens: In addition to choosing paint colors, consider the sheen of the paint. Matte, Eggshell, or Satin finishes can hide imperfections and create a soft, velvety look, while semi-gloss and high-gloss finishes are more durable and easier to clean, making them a good choice for high-traffic areas like kitchens and bathrooms.
Consider Undertones: Pay attention to the undertones of paint colors, as they can influence how the color will appear on the walls. Warm colors may have undertones of yellow, red, or orange, while cool colors may have undertones of blue or green. Make sure the undertones of your chosen colors complement each other.
Additives: Some paints include additives to make them better suited for certain rooms. Bathroom paint, for example, may include Biocides that inhibit the growth of mold, mildew, and algae in humid or damp environments. Some paints include UV stabilizers to protect paint pigments from fading in sunlight.
Consider trends carefully: Trendy colors are a lot of fun and your obsession with Pantone’s color of the year may inspire you to repaint your bedroom in the latest hue. Just be prepared to change the color as trends can date a room once they are out of style.